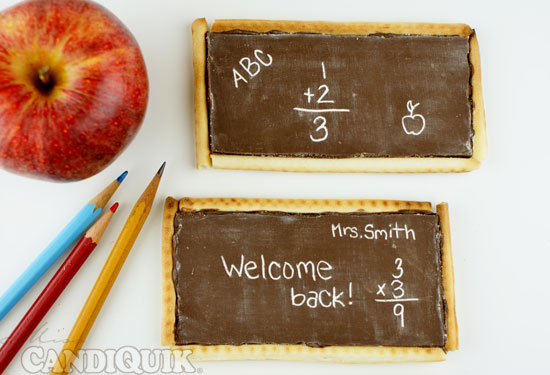
Chocolate Chalkboards
Author: Miss CandiQuik
Ingredients
- 1 package Chocolate CandiQuik
- Toothpicks
- Powdered Sugar
- Thin breadsticks or pretzel sticks
- Optional: almonds or peanuts
Instructions
- Melt Chocolate CandiQuik according to the package directions.
- Smooth the entire tray of coating onto a large flat surface covered with parchment paper. Parchment paper. Not wax paper. Wax paper will leave white stuff (aka wax) on the bottom of the block of chocolate.
- Here you can (and should) sprinkle almonds or salted peanuts for a little crunch and bark-type treat! (this is the back of the chalkboard, so it won’t be seen)
- cut the chocolate into rectangles. Mine were about 5 x 2.5″
- Use a toothpick to etch on your designs. Make sure you are etching on the flat side of the coating. Smooth powdered sugar over the bar.
- Using a toothpick, apply a little coating to the edge of the bar and press the bread sticks or pretzel sticks on.
- Clean up the chalkboards with a barely damp paper towel.
Recipe by Miss CANDIQUIK at http://blog.candiquik.com/chocolate-chalkboards/