This happens to be a fairly odd list of ingredients.
Ok, fairly odd may be an understatement.
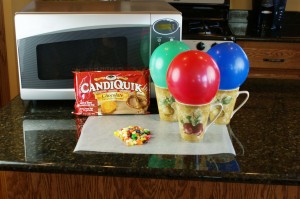
You will need: Balloons, CANDIQUIK, Cups/mugs, a needle or pin (aka something sharp)
…hmm!?
Can you guess what I am going to make with these ingredients?
Do you know yet?
… the final product is so cute, I love the look of these!
Melt CANDIQUIK® according to directions (I used chocolate here, but could also use Vanilla!)
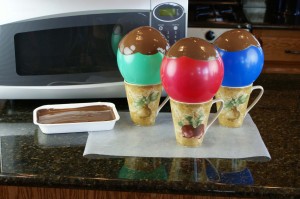
Dip Balloons in melted Chocolate Candiquik (balloons should be inflated to approx. a 4″ diameter), slowly let excess chocolate drip off balloon - make sure they are well coated. Set the balloon inside the mug. For faster cooling, place in the fridge or freezer for 20 to 30 minutes or until chocolate coating is very firm.
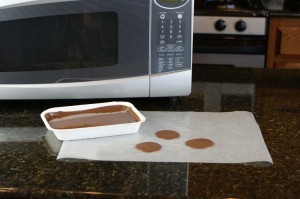
While the balloons with chocolate are setting, spoon a small amount of CANDIQUIK in a cirlce shape onto wax paper (for the bases of the chocolate cups).
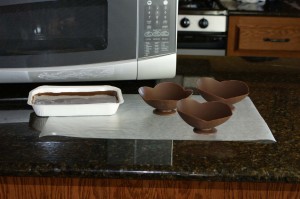
Carefully remove chocolate cups from the balloons. Working with one balloon at a time, prick balloon with a straight pin and deflate. Carefully remove balloon by gently pulling balloon away from the sides of the chocolate. Set the chocolate bowl on the circle of chocolate CANDIQUIK.
If it has dried, just use a dab of CANDIQUIK to seal the cups to the base…
Voila! Easy and multiple uses – fill with whatever you desire!
*Decorate each one differently to add even more personality! Add sprinkles or candy coating to add designs… Just have fun with it!


[...] [...]