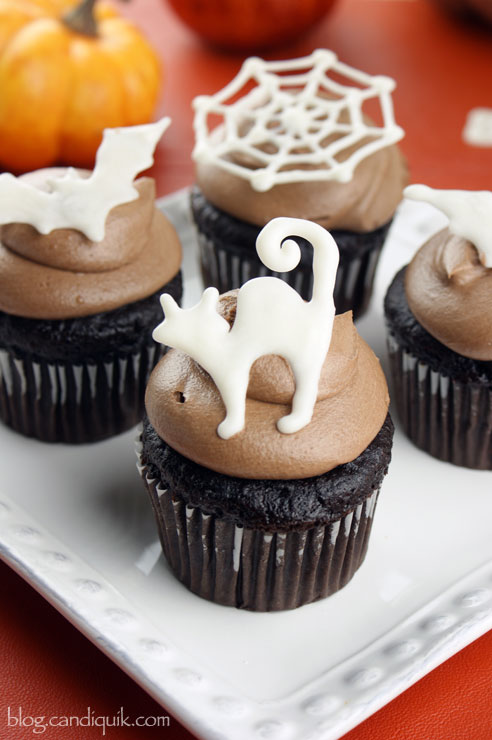
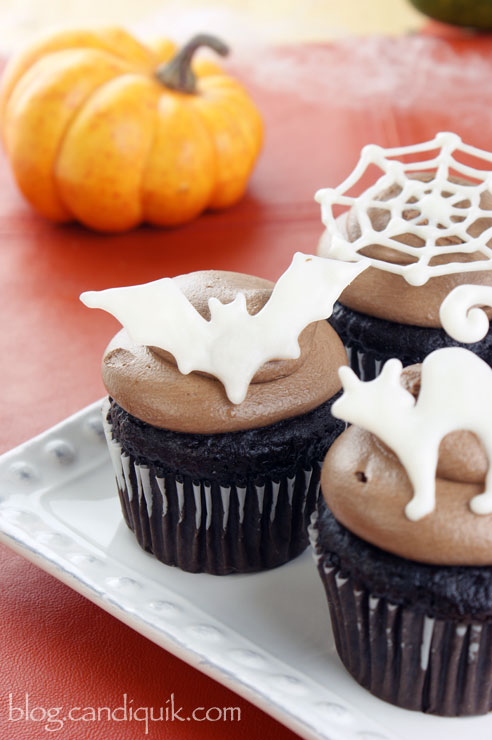
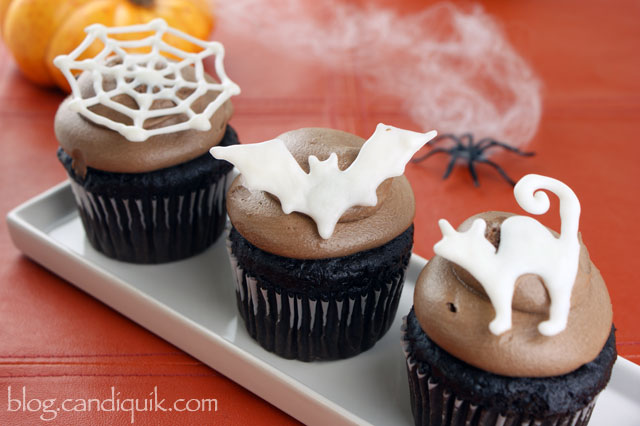
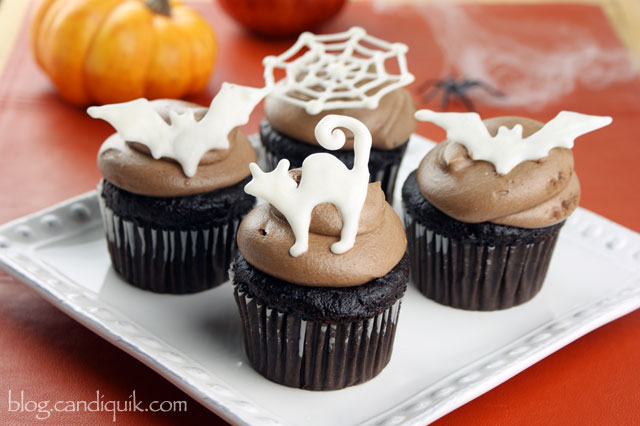
These Halloween Cupcake Toppers were a blast to make. Almost as much fun as eating them. Almost.
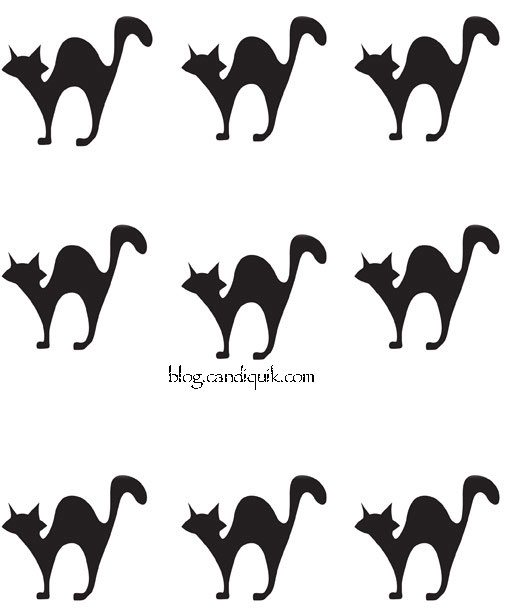
I think I had the most fun with the kitty cats, adding the little swirls to the tail.
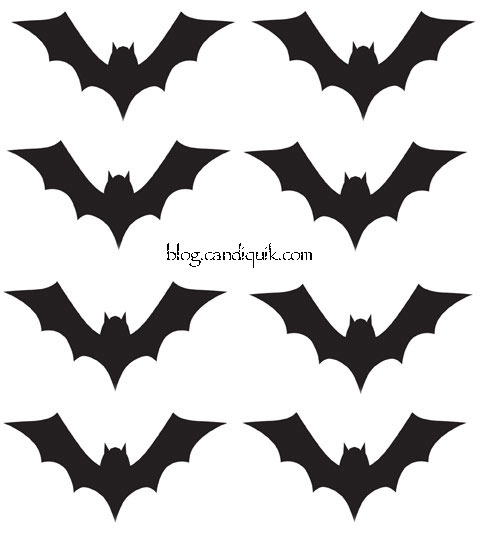
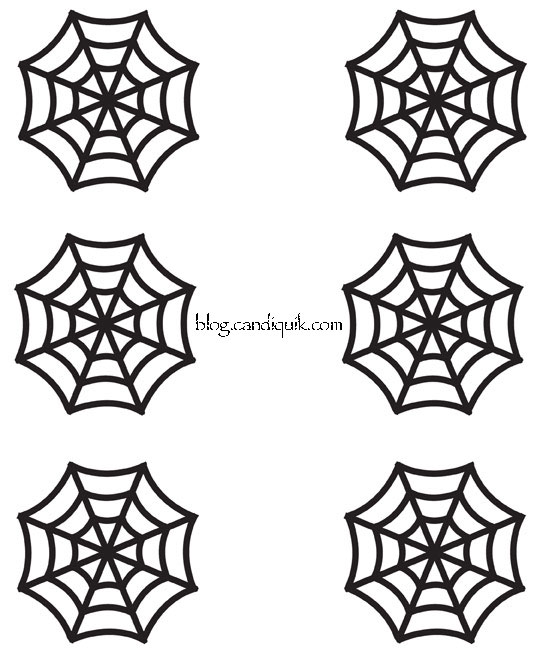
They were really easy to make, too. Trust me because I would not be able to draw you a Halloween-y bat or cat without looking at a photo first. I cheated and used outlines, which I provided for you below. All you need to do is trace, that’s do-able, right?!
First things first, you’re going to melt your Vanilla (or Chocolate) CandiQuik Coating and transfer it into a piping bag.
I personally love my good ‘ol Ziploc freezer bags (I use the quart sized) for piping. I like that I can cut the hole the exact size that I want it.
For these, since there are some somewhat detailed lines, you want to cut the TINIEST hole in your bag (or if using a piping bag, use a very fine tip) where it still allows the coating to come out smoothly. If the coating is “drizzling” when you squeeze it, it needs to be a teeny tiny bit larger.
This is where the type of chocolate or coating that you are using is very important. Coatings/chocolate chips/candy melts that tend to be thick will NOT work. I didn’t have to add anything to my Vanilla CandiQuik, but if it is very humid you may have to stir in a spoonful of Crisco to thin out the coating.
I piped around the shapes in one move (I didn’t lift up until I had fully traced around each shape) and then filled in or “flooded” the center of each shape.
I only piped cupcake toppers for six cupcakes and did not have to reheat my coating while piping these. But if you find the coating starts to harden in the bag (why I use a freezer bag), pop it in the microwave for a few seconds (5-10). The other awesome thing is that whatever coating is left in the baggy, just let harden and reheat later.
- 1 package Vanilla CANDIQUIK Candy Coating
- Piping bag (or plastic bag)
- Wax paper
- Halloween template*
- Cupcakes
- *templates provided in blog post: http://blog.candiquik.com/halloween-cupcake-toppers/
- Melt Vanilla CANDIQUIK Coating in tray according to package directions.
- Pour melted CANDIQUIK into a piping bag or a plastic bag with a tiny hole snipped off of one corner (a quart-sized freezer bag works best).
- Place a large piece of wax paper on a flat surface and place your printout of shapes underneath.
- Begin tracing the shapes with the CANDIQUIK; outline first and fill in after.
- Allow to set completely. Once set; peel shapes away from wax paper and press lightly on top of cupcakes.
These outlines should help you. Place these under wax paper and trace!
There are two way to print these outlines: click on the PDF link OR on the photo below!
PDF – Bat Cupcake Toppers – Outline
PDF – Cat Cupcake Toppers – Outline
PDF – Spider Web Cupcake Toppers – Outline
Happy Halloween!
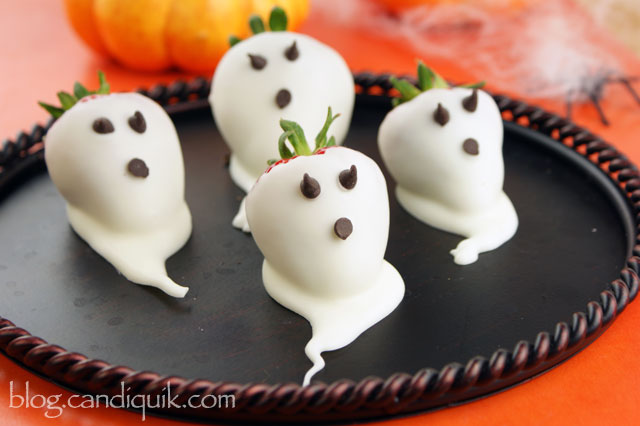
You might also LOVE these Strawberry Ghosts
Linked to: Sweet Bella Roos, Kitchen Fun w/ my 3 Sons, P&P Kitchen, Time to Sparkle


Cute and easy–I love it! Now for your next trick, please pipe an intricate portrait of Jack Skellington to go on top of a cake. And…go!
I’ll get right on that Elizabeth, haha. *steady hands…steady hands*
These are adorable!! Thanks for including the outlines too!
Looooove your toppers! They look so nice and no pesky toothpicks like in store bought ones.
Hi Brenda, exactly! And they even taste good
Sarah! I love these! They look so professional and sooo yummy!
Aww, thanks Chandra!
They really turned out cute! I love the cats too:@)
haha, thank you!
Sarah, these are so adorable and they look so festive. Thanks for including the templates!
thank you so much for this! im planning to try this on our next weekend halloween party. Im sure these will turn out great, wish me luck!