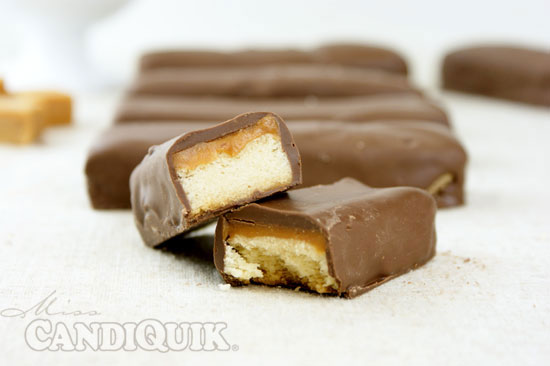
Every year. Same story.
This is me: “I am absolutely not going to eat all that junk that I did last year around the holidays”… Or realistically anytime the temp drops below 60 (I’m a wimp) and all I want to do is eat cookies and brownies… on the couch… in my PJ’s.
Then, every year, ugh… I just can’t resist.
And it’s not junk by the way. I can’t believe I said that. I’d like to apologize to all cookies and brownies reading this…
It’s sugary goodness. Party in your mouth. Can’t-resist-it’s-so-freakin-good.
Totally worth it.
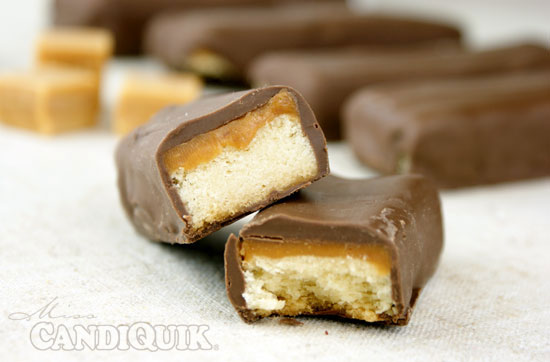
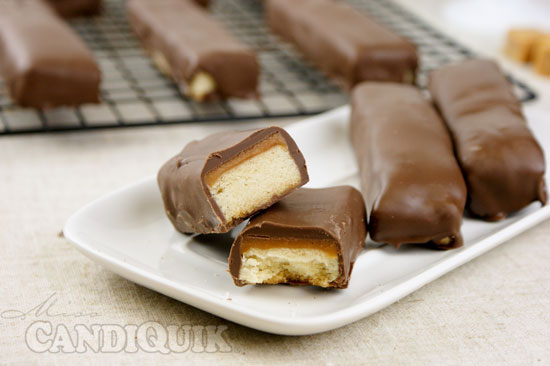
- SHORTBREAD LAYER:
- 1 cup (2 sticks) salted butter, softened
- 1 cup confectioners' sugar
- 2 teaspoons vanilla extract
- 2 cups All-Purpose Flour
- CARAMEL LAYER:
- 2 cups caramel candies (I used caramel bits)
- 3 tablespoons half and half
- CHOCOLATE LAYER:
- 2 (16 oz.) packages Chocolate CandiQuik Coating
- FOR THE CRUST: Preheat your oven to 300°F. Spray a 9" x 13" pan lightly with cooking spray (or line with parchment) and set aside.
- In a medium-sized bowl, beat together the butter, sugar and vanilla. Add the flour. Mix until well combined.
- Take the dough (it will be thick) and press evenly into the bottom of the pan.
- Prick the crust all over with a fork. The holes allow the steam to escape and the crust will bake evenly with fewer bubbles.
- Bake the crust until the edges are golden brown, about 35 to 45 minutes. Remove from the oven and immediately run a knife around the edges to loosen the crust. Set aside to cool completely.
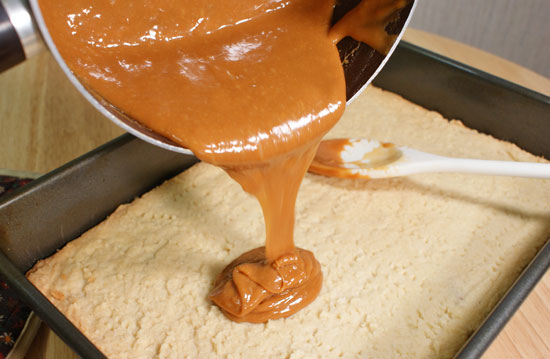
- FOR THE CARAMEL LAYER: Melt the caramel and cream over low heat in a small saucepan - this takes about 10 minutes. Spread the caramel evenly over the cooled crust and place in the refrigerator for 30 minutes to chill and firm up.
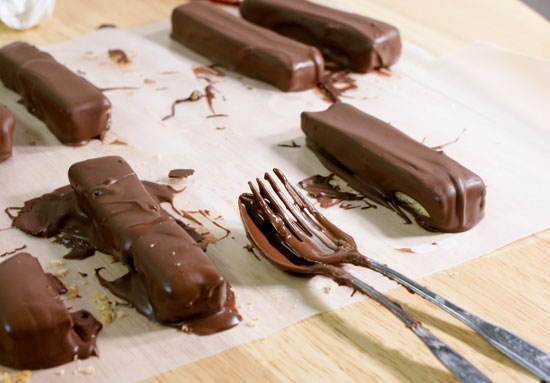
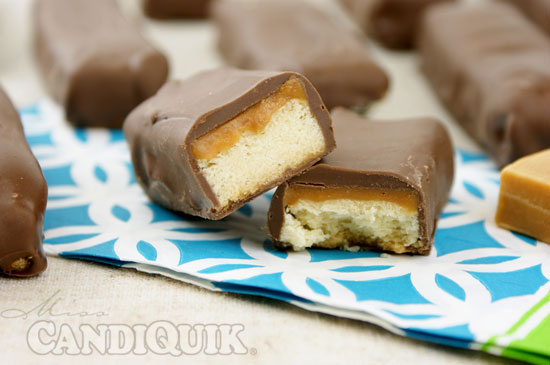
- FOR THE CHOCOLATE LAYER: After the caramel layer has chilled, cut down the length of the pan, splitting the bars into two long, narrow bars (see notes below). Then cut the bar horizontally, creating 24 bars. Melt chocolate CandiQuik according to package directions; using two utensils, dip the chilled bars into melted chocolate and place on wax paper to set.
After the caramel layer has chilled, cut down the length of the pan, splitting the bars into two long, narrow bars (see notes below). Then cut the bar horizontally, creating 24 bars.*
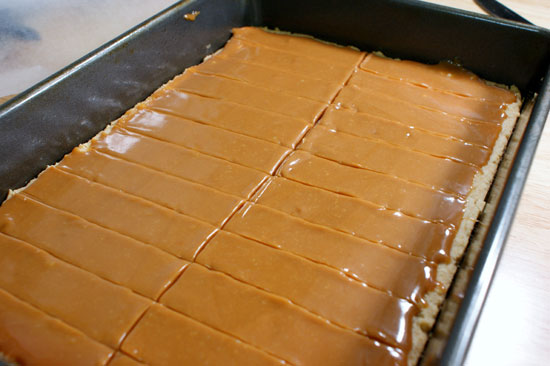
*Note: I did find the dipping process to be a little tricky as some of the bars broke while I was dipping them. A couple of times the shortbread layer broke while cutting, but as you can see, that didn’t stop me! Next time, I would simply cut shorter/smaller bars. If you wish to do so, cut down the length of the pan, splitting the bar into THREE long narrow bars, then cut horizontally.
*OR this recipe can also be made in the pan and cut into square bars, in which you will only need 1 package of CandiQuik Coating. For simple bars (follow recipe directions beginning after step #6): Melt 1 package of Chocolate CandiQuik according to package directions. Spread evenly over the chilled caramel layer. Return to the fridge until the chocolate coating is well set. Cut into squares to serve.
Check out all of these other Copycat Candy Bar Recipes
Linked to: Mrs. Happy Homemaker, Crazy for Crust, Bru Crew Life, Printabelle, Gooseberry Patch, DJ’s Sugar Shack, Sweet Bella Roos, Chocolate, Chocolate & More, Something Swanky, Kitchen Fun w/ my 3 Sons


Drooooooling over these Homemade Twix bars, Sarah! I love how easy they are–definitely better than the store-bought kind
Found you on Recipenewz–These look really yummy–I totally did *not* need to know about this recipe (since now I need to make them)! Thanks for sharing.
Hi Anne! I know you will enjoy them they are totally worth it!! Thanks for commenting
Those look amazing and I love your gorgeous photos of them, too! Yum!
Thank you, thank you – comments like yours make my day!
I am a sucker for twix bars!!! Would love for you to link these up http://www.sweetbellaroos.com/2012/09/20/pin-it-thursday-3/
You must make these then!! Heading over to link up now!
I’ve been wanting to make homemade twix bars for awhile now. Yours look scrumptious!
Hi Rebecca, you must make these they are delicious! Thanks for stopping by!
Loveeee twix bars. Thanks for sharing at Pin It Thursday– I featured you here http://www.sweetbellaroos.com/2012/09/22/pin-worthy-featured-links-2/
Aww – thank you sooo much!
You are my hero! All summer long I wait for the temperature to drop, not to freezing cold, but cool enough that I can play with chocolate again. We’re almost there and these are at the top of my list to make! Thanks for sharing, Pinned!
Hi Joan! Have fun making these – they are worth every second!! Thanks for pinning
That silence up there is me salivating on my keyboard!
Must try these soon!
Oh, WOW. Delicious!!!! I will take your advice, though. As you mentioned, the shortbread crumbled when lifted/dipped…probably because of all that lucious, heavy caramel! Making them again tomorrow only smaller bars. Thanks for the wonderful recipe!!!
Hi Lori!! Thanks for saying hi, glad you enjoyed the recipe! And yes, smaller bars work better, but either way they are tasty!! I think the easiest method would be just pouring the chocolate over the top and cutting them into bars, but that’s not quite as fun!!
You and I think alike! Thanks for this recipe! Whipping up 2 batches as I type!!!!
What kind of caramel candy did you use?
Hi Adi,
I used Kraft caramel bits or you can just use 2 cups of soft caramel squares (like these: http://www.amazon.com/Kraft-Traditional-Caramels-14-oz/dp/B0005Z6F5O/ref=sr_1_20?s=grocery&ie=UTF8&qid=1357569188&sr=1-20) Hope this helps!
I believe I have just died and gone to heaven finding this site……..mmmmm
Aww, you’re so sweet, Kristin! Glad you found the site Thanks for commenting.
Not sure if it would work, but when you poke holes into the crust before baking, you could also go the extra step of scoring the crust so that it cuts easier and minimizes breaking.
Hi Rebecca, that is a great idea!