
Let’s face it – cake pops can be kinda sorta , umm, how do I want to say this – time consuming!
However, I’ve learned a few ways to cut the corners yet still have perfect cake pops or balls. Because you never know when you’re going to need to make some late minute cake pops (or you just dont want to spend all day slaving over them). So here we go…
1. Prepare your tools while your cake is baking:
-
coffee scoop for rolling your cake balls
-
grab your sprinkles or any decorations you plan on using & a large mixing bowl
-
lay out the wax paper
2. Reduce the waiting time.
When your cake is done baking, let it cool for just 5 minutes.
After 5 minutes, cut off the outer crust and immediately place the cake in a standing mixer with the paddle attachment and let the mixer do the crumbling job. Or grab your large bowl, a fork/knife and get to work!
Place crumbled cake (it will still be very warm!) in the freezer for 5-10 minutes.
3. After the crumbled cake has cooled off in the freezer, mix thoroughly with frosting (using your hands).
Then pop this mixture back in the freezer for about 10 minutes.
4. Divvy up the rolling & chilling time.
Roll into cake balls and once you’ve rolled about 20 cake balls (or half of the mixture), place the rolled cake balls in the fridge. These will then be ready to dip once you’ve finished rolling the remaining cake!
5. Use a disposable cup and spoon for dipping your cake pops.
I often use a styrofoam cup or a large plastic cup. Once you insert the lollipop stick into the cake ball, you can give it one dip into the cup, allow the excess coating to drip off and place immediately on the wax paper.
6. After dipping your cake pops, set them on a chilled cookie sheet covered with wax paper.
This will speed up the drying process.
7. Use sprinkles to decorate.
Sprinkles are great for many reasons: they cover up flaws and they are quick to apply while the coating is still wet. Just ‘sprinkle’.
8. Make “bottom down” cake pops or cake balls.
Much faster, much easier. No dripping! Plus, easier to display. And ultimately, they’re going to get eaten anyway, right?
Read my Cake Pop Tutorial!
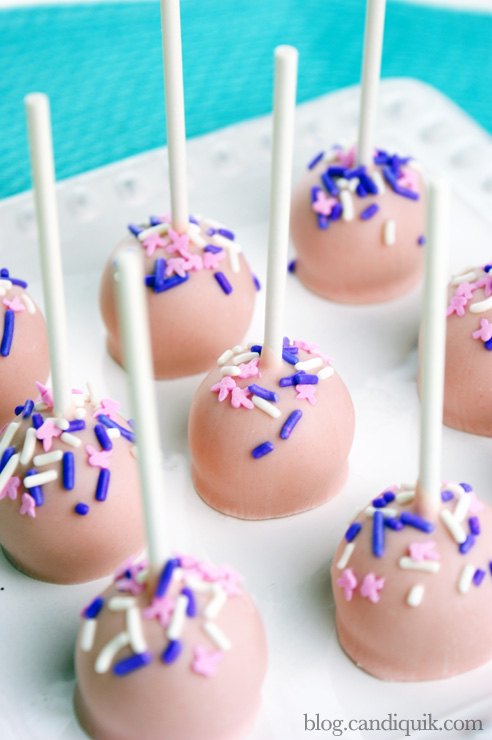
Strawberry Shortcake Cake Pops “bottom down” style
If you know ahead of time that you will be needing to make cake pops, here are several ways to break up the steps and ultimately save time if you have a few days notice:
- Bake the cake and mix with the frosting beforehand.
- Store this cake pop ‘batter’ in the fridge (if only for 1-3 days), or the freezer if longer.
- Roll into balls the day before needed and store in the fridge in an airtight container lined with a paper towel to absorb the excess oil that will collect on the bottom of your cake balls.
- Dip them in coating at the last possible day you make them.


Another quickie after cooling your cake for 5-10 minutes is putting the cake in a food processor to crumble, then add your tblsp of frosting as needed to and allow it to mix in the food processor. The cake will form into playdoh consistency giving ease to scoop and chill. A little tip provided by Dee of Divas Delights based in NJ.
That’s a great tip! Thanks, Sabrina!
What great tips! One of the reasons I don’t like to make cake pops is because of how time consuming they are but this sounds like it would be worth another try.
Well I know I needed this!! I love the sprinkles advice the best, sprinkles help everything look better! I sure wish I would have had those key lime cake pops!!! Guess I will have to make them myself with these tips!
I want to try making these for my niece’s 1st birthday! Do you put them in the refrigerator to chill at all after dipping or leave them out and the chocolate hardens that way?