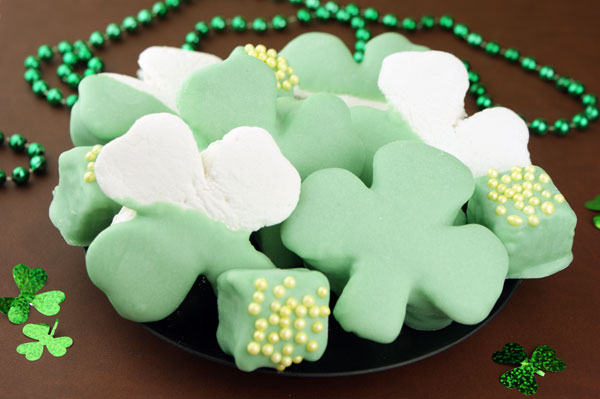
So, it happens to be that it is cold outside. Surprise, surprise Minnesota.
What does that have to do with anything?
Well, I’m glad you asked, because I couldn’t find a dang candy thermometer in the kitchen to save my life. Nor did I really want to go out into the cold to buy a new one.
(I’m officially talking to myself on my blog, don’t mind me.)
And I thought, I’ll try to make this recipe without the thermometer (I know… bad me).
After I researched tons of marshmallow recipes online, watched marshmallow-makin’ videos (and in that time probably could’ve already returned from the store w/ my new thermometer, but that’s besides the point) I had decided that I had it pinned down to exactly how long it would take for my mixture to get to 240 degrees.
So here I go, fully prepared to ruin a cup and a half of sugar, a cup of corn syrup, and a half cup of water…only to find out that I WAS SUCCESSFUL. Yay me.
Let me tell you exactly how I did it in case you don’t have a candy thermometer close and want to make these.
Begin by adding the granulated sugar, corn syrup, cold water (I pulled my water out of the fridge) into a medium saucepan. Carefully stir these together to just combine.
Over Medium-High heat, cover and allow to cook for approximately 3 minutes until the sugar dissolves; do not stir. Uncover (this is where you will clip a candy thermometer onto the side of the pan if you have) and continue to cook for another 5 minutes (until the mixture reaches 240 degrees F), approximately 8 minutes total. Once the mixture reaches this temperature, immediately remove from the heat.
I pulled mine off the heat at exactly 8 minutes.
Note, you can use a hand mixer with this recipe, however, a standing mixer is much desired as you will see why very soon.
With your mixer of choice on low speed, while running, slowly pour the sugar syrup into the softened gelatin. Once you have added all of the syrup, increase the speed to high and whip until the mixture is very thick and fluffy; approximately 12 to 15 minutes, or until your arm feels like it may fall off if using a hand mixer. Add the vanilla during the last minute of whipping.
You will notice the mixture to become really thick during the last few minutes of the whipping process.
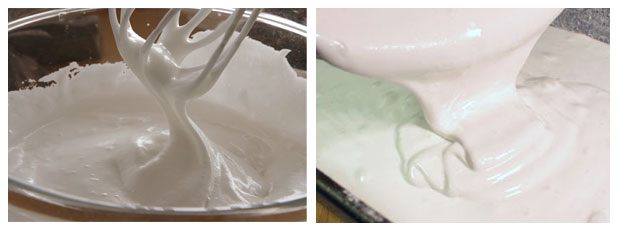
Just be patient, because if you’re like me, you may become very doubtful and want to see marshmallows pop out of your bowl in 3 minutes, but this doesn’t happen.
Nor does it happen once you are done whipping…
You have to let your pan full of the marshmallow mixture sit for at least 4 hours (I let mine sit overnight and somehow resisted eating it).
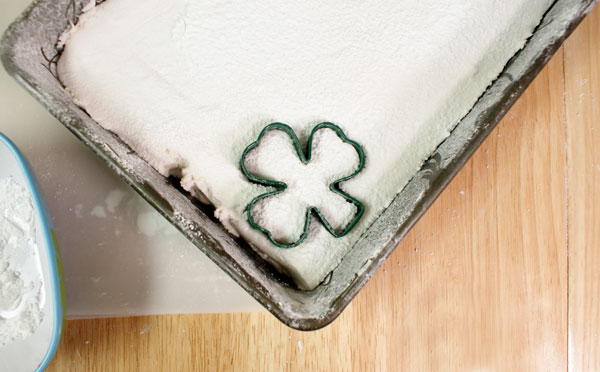
A pan full o’ mallows!
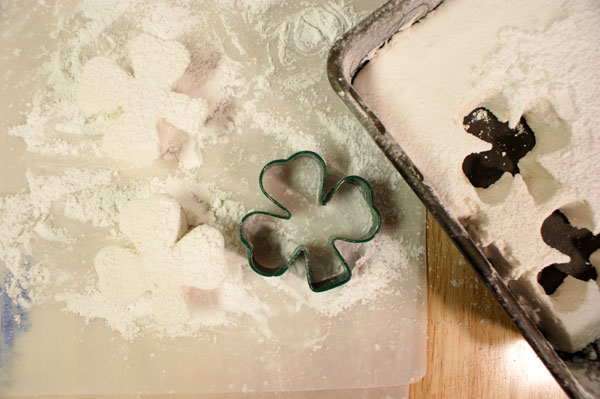
Dust your cookie cutters with powdered sugar before slicing into the marshmallows, this will prevent any sticking.
And after you cut your marshmallows out, roll in powdered sugar to coat the sides.
We’re dealing with sticky business here.
Even with all the spray and layer of powdered sugar, mine were hard to turn out of the pan- they weren’t sticking to the bottom but they are just difficult to flip out.
Next time I think I will line my pan with parchment paper.
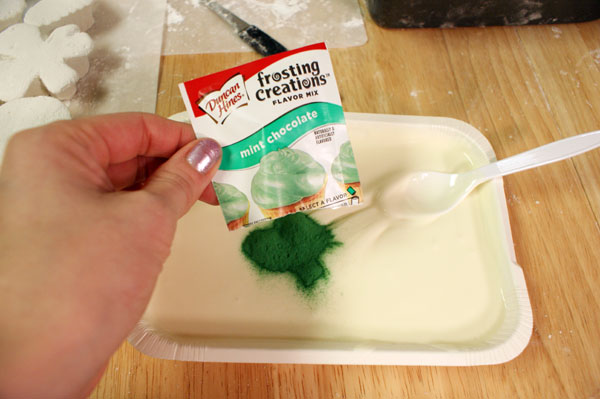
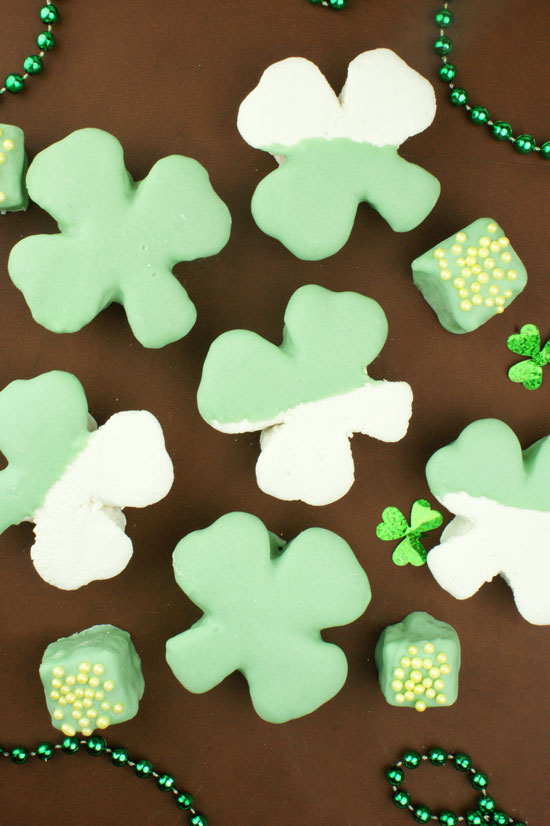
To color my CANDIQUIK, I added one packet of the Duncan Hines Frosting Creations in Mint Chocolate.
I love these packets, they work fabulously and you have lots of choices for flavors/colors.
Just pour the packet into the melted coating and stir until combined; dip your marshmallows in the coating and place on wax paper to dry.
If you want a deeper green, add two packets.
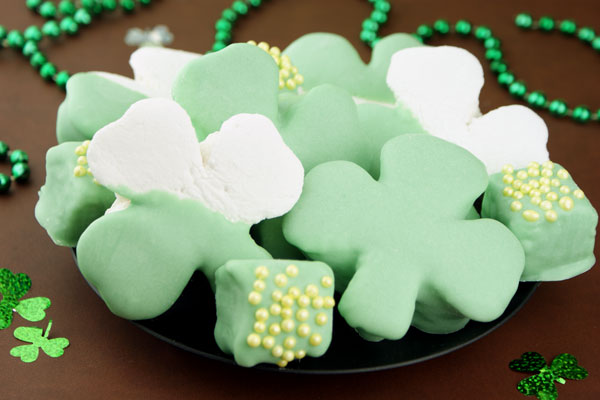
Have you ever made marshmallows from scratch? You should! They are really less intimidating than made out to be and taste so much better than the ones from the store!
Happy St. Patrick’s Day!
- 3 packages unflavored gelatin
- 1 cup cold water
- 1½ cups granulated sugar
- 1 cup light corn syrup
- ¼ teaspoon salt
- 1 teaspoon vanilla extract
- ¼ cup confectioners' sugar
- ¼ cup cornstarch
- *For coating:
- 1 package (16 oz.) Vanilla or Chocolate CANDIQUIK® Coating
- Optional: 1 packet Duncan Hines® Frosting Creations™ (chocolate mint flavored)
- Prepare a 13 x 9” pan by spraying with nonstick cooking spray. Combine the confectioners' sugar and cornstarch in a small bowl. Sprinkle a small amount of the sugar and cornstarch mixture in the pan to dust the bottom and sides of the pan; set remaining mixture aside for later.
- Combine gelatin and ½ cup of the cold water in a large bowl (if using a standing mixer, combine in the bowl of an electric mixer fitted with the whisk attachment.)
- In a small saucepan combine the remaining ½ cup cold water, sugar, corn syrup and salt. Place over medium-high heat, cover and allow to cook for approximately 3 minutes until the sugar dissolves; do not stir. Uncover (clip a candy thermometer onto the side of the pan if you have) and continue to cook for another 5 minutes (until the mixture reaches 240 degrees F), approximately 8 minutes total. Once the mixture reaches this temperature, immediately remove from the heat.
- With mixer on low speed, while running, slowly pour the sugar syrup into the softened gelatin. Once you have added all of the syrup, increase the speed to high and whip until the mixture is very thick and fluffy; approximately 12 to 15 minutes. Add the vanilla during the last minute of whipping.
- Pour the mixture into the prepared pan, using a lightly oiled spatula for spreading evenly into the pan. Lightly dust the top with the powdered sugar and cornstarch mixture. Reserve the rest for later. Allow the marshmallows to sit uncovered for at least 4 hours and preferably overnight.
- Turn the marshmallows out onto a cutting board and cut into desired shapes using cookie cutters dusted with the confectioners' sugar mixture, a knife, or a pizza wheel. Once cut, lightly roll each marshmallow in the remaining confectioners' sugar, coating all sides, using additional powdered sugar if necessary.
- Store in an airtight container for up to 3 weeks.
Linked to: Mrs. Happy Homemaker, Pint Sized Baker, Inside Bru Crew Life


Okay these are SOOO cute! Yay you doing it w/o a thermometer! That’s super cool.
Thanks, Dorothy! It was risky but it turned out! Thanks for saying hi!
I have a love/hate relationship with candy thermometers! No matter how much they cost – cheap/expensive, digital, etc, they seem to not work after the first use. I don’t know what I am doing wrong. I do have one marshmallow recipe that doesn’t need a thermometer – it goes by time, and they are awesome and turn out perfect everytime. I found it in either BA or Gourmet and had a cute article with it about a guy making them for a date, and she ended up marrying him, and he owed it to the marshmallows he made her. Your recipe sounds like the one I have used. I can’t wait to try yours and love the shamrock shapes, too. Perfect treat for St Patrick’s.
Hi Cathy – I hear you! And hey, if it works without a thermometer, better for us! The recipe(s) must be somewhat forgiving and a few degrees either way doesn’t ruin it. Cute story on the marshmallows, I’ll have to see if I can find it! Thanks for commenting
These are adorable. Homemade marshmallows are on my list of things to try making. LOVe these!!!
Yes – you must make them sometime! Thanks for saying hi
These look great! I have to try adding the flavor packs to the candy. That sounds great! Thanks for sharing at Two Cup Tuesday at Pint Sized Baker. I’ve pinned it!
Thanks for pinning!
These look amazing! Do you think that food coloring could be added to the mixture before boiling it?
Hi Sheryl, I would add the food coloring when you add the vanilla extract (at the end of the whipping process). Thanks for stopping by!