I could begin by telling you a story about our new friends living in the basement, but I’ll spare you.
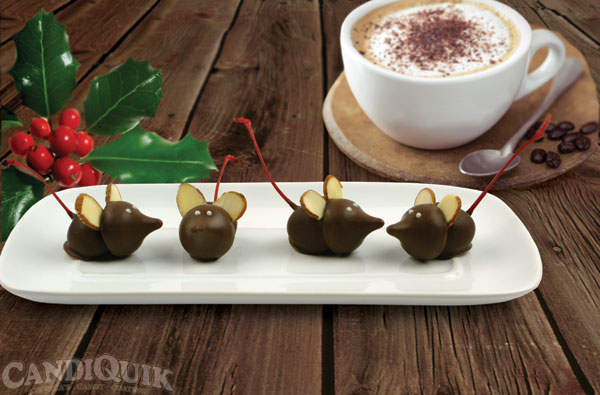
These mice are not a brand new creation, but they are a classic. If you haven’t ever seen these – here they are! If you haven’t ever made these – do so. I promise, people will rave and think you are oh-so creative.
Who doesn’t see these and instantly think “aww, how cute”!?
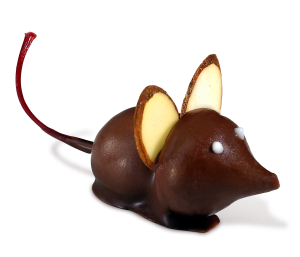
Delicious and simple.
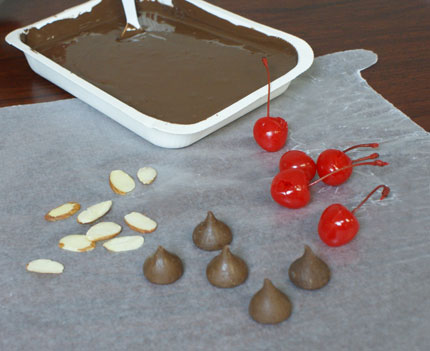
Party Mice
Ingredients:
- 1 package (16 oz) Chocolate CANDIQUIK® Coating
- 1 jar Maraschino Cherries (with stems)
- 1 package Chocolate Kisses®
- 1 package Sliced Almonds
- White Decorative Icing or candy coating
Directions:
1. Melt CANDIQUIK® Coating in tray according to directions on package.
2. Use a paper towel to pat cherries completely dry. Unwrap Hershey’s Kisses.
3. Holding cherries by stem, dip into Chocolate CANDIQUIK; place on wax paper so the stem is pointing out to the side.
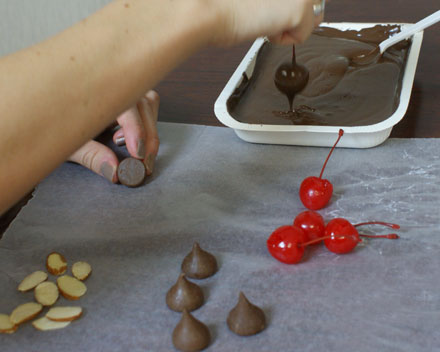
3. Press the flat side of chocolate kiss to the bottom of cherry.
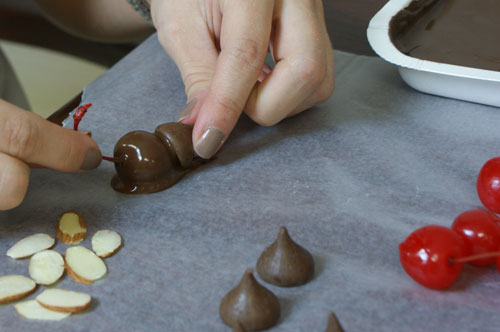
4. Insert 2 almond slices between cherry and chocolate kiss to form ears. Hold in place for a few seconds until the almonds stand up without falling over.
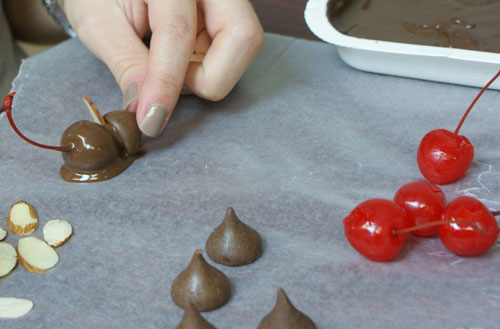

5. Once dry, use decorative icing (or a toothpick & candy coating) to create eyes.
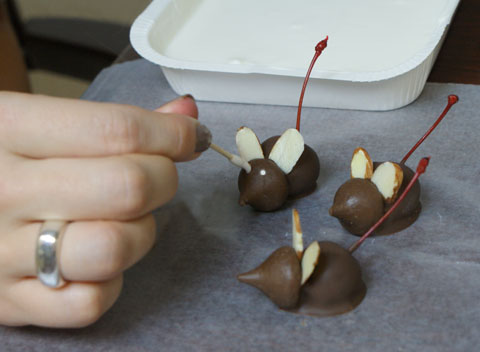
Enjoy!
Related Recipes
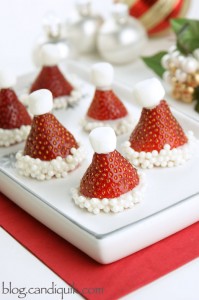
Strawberry Santa Hats
Snowmen Cookies


Too cute! If you wanted, you could wrap some fondant around the cherry, refrigerate, then dip in the chocolate. Then, attach a Hershey’s Cherry Cordial kiss on the front. Would be like one huge chocolate covered cherry, YUM!
I was going to make these mice last year, but I really hate maraschino cherries, any idea on something else that would work as well?
You could always use mini cake balls or cookie dough balls for the body!! For the tail you could use chocolate (pipe on wax paper and peel off once hardened, the stem of the cherry still, or ____. Anyone have ideas?! Thanks for the comment!
I absolutely love these little critters. I know my daughters would love them too. Gonna try them for Christmas when they are off for vacation. Thanks for posting the instructions. Have a Merry Christmas!
Wow, how cute aren’t these!
I have made these for years at Christmas and they are always a big hit. I add one more item, I put red icing on the tip if the kiss to give the mice a red nose. I donate them to my church to sell them at the Christmas bake sale and they are the first to go.
My daughter and I made these this evening. SOOO cute! We had some trouble with the eyes though. It was very messy to get them on (we melted white chocolate and used a toothpick). Almost looks as though the mice have whiskers running all over the place (but not in a good way). Anyone have suggestions on how to do a better job on the eyes? Today was a practice run, we’re going to make bunches for a Christmas party.
For the eyes – Work on one eye at a time. I usually dip the end of the toothpick in the melted Vanilla CANDIQUIK (make sure coating is not pouring off, that means you have too much) and dot the end of the toothpick on the kiss – pulling straight up and allowing the coating to form its dot, without ending up all over! Repeat for the second eye!
Practice makes perfect, you will learn to feel what the right amount is to leave the perfect amount of coating!
Good luck – share pictures if you wish!
we made these with white chocolate and used white pepermint kisses! They are super adorable! Can’t wait to make more to take to our Christmas Party.
Thanks so much for this! I made these for a The Night Circus themed book club, and they came out pretty much exactly like yours!
I’ve made these for my family several Christmas’ ago and they loved them. I also have made a different one for Fall with using a mini Nutterbutter cookie that is round. Attach Nutterbutter cookie to the flat side of the chocolate kiss with a dab of melted chocolate, once it is set…add a mini chocolate morsel to the cookie. It now looks like an Acorn! So yummy, too.